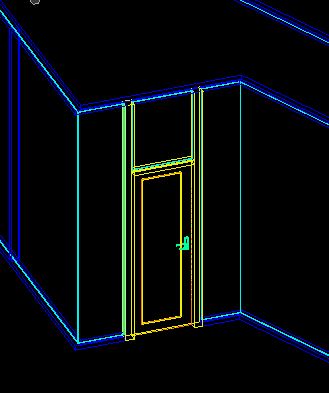
 Above shows all the lines involved in modelling the door and the placement in the window frame. 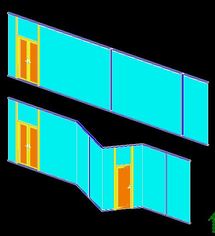 This image shows the window glazing inside the window frame with the doors on both the top and bottom levels. | Compared to the other workshops, I found this one a lot harder because of the the different tools such as solid by thicken tool, used to make a 2-dimensional shape into a 3-dimensional object. Step One:The first step of this worksop was to model the window frame, which included an angle, then to fill it with a window glazing. This is where I used a lot of the new tools such as Surface by extrusion to turn a one-dimensional line into a solid in order to make the window frame. Step Two: Next I had to model the door, door frame and the glazing in the middle. I came into some trouble when trying to place the door into the window frame as the two objects did not line up and I had to make adjustments to all of the elements in both the door and the window. I found it hard that there is no snapping point. Step Three: From there on I had to complete the structure on my own. I found the balustrade the hardest thing to model because I could not get it in the right spot as sometimes it gets tricky with the views. Although I had a few more issues during this workshop the finished product looks like it's really coming along. 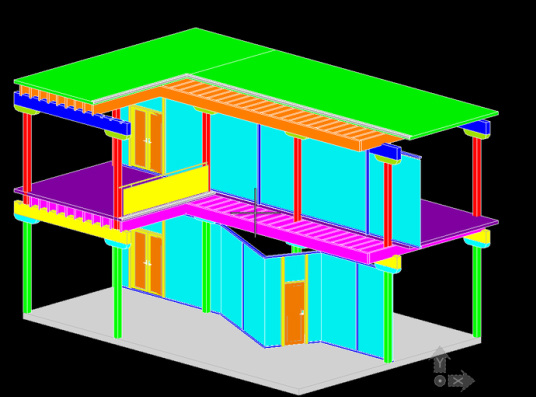 |
