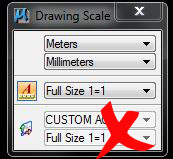
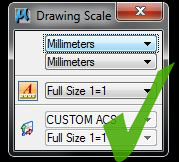
| Workshop two marked the beginning of the structural components of the building that I will continue to work on for every workshop here on out. Right now the building looks like a series of athletic hurdles but at least it's a start! Step One: Firstly, to make to the columns I used the slab tool and then manipulate:copy to position each column as per the instructions. Laying a beam over the top and then copying the whole structure so as there is two levels. Step Two: Next, I needed to change the levels in order to easily distinguish between the columns and the beams, on the first and second floors. This is particularly important in future projects when there are a lot more lines. Step Three: Once the model had reached the finishing stages of workshop two, I had to review it to make sure that everything was in the right spot. This involved measuring each column to make sure they were all at the right dimension (180 x 180 x 3180) and checking to see if the model was made upside down. Mine was not. However, a difficulty that I came across in this workshop was that the scale of my model was inaccurate. By going through the step by step guidelines, however, I was able to adjust this quite simply by using the manipulate scale tool. Instead of 1 I typed in 0.001 and my model automatically adjusted itself to change from meters to millimetres. | 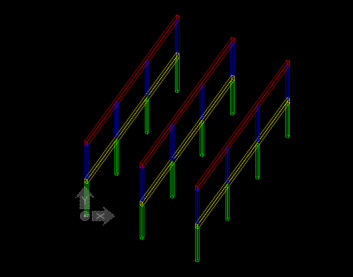 The above image shows the progression that I made during workshop two  This image shows the level manager which can be used to change levels, to create new levels and to colour coordinate so that each element is distinguishable.
|